This was a good laugh as we were able to manipulate the images which we thought would give the most effect and 'scareyness factor'
We started in creating a sketched design which we would stick too to make the best poster that we could.
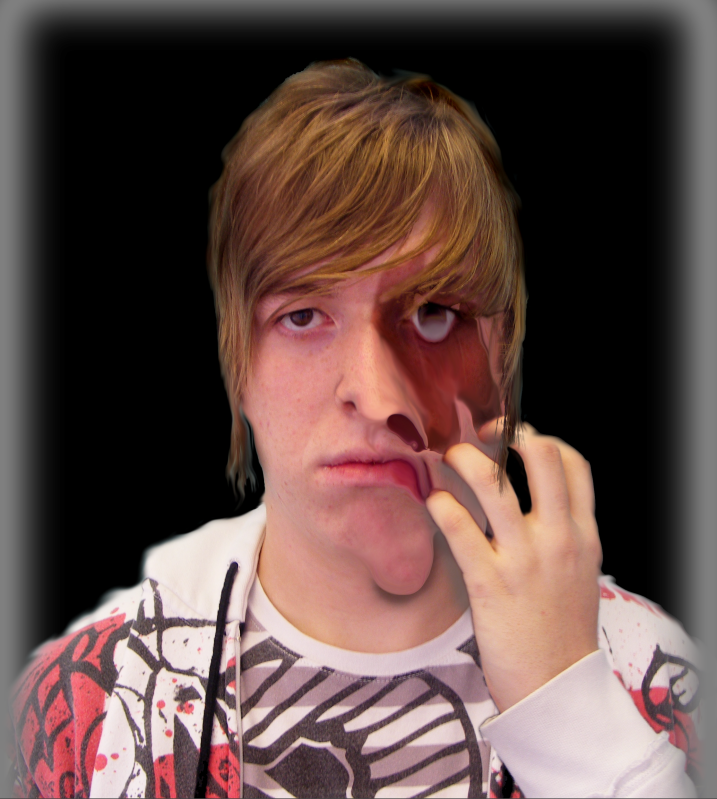
We thought of having the main character 'Chace' being the main character, this would allow the viewer to know who the film would be about. Since we have deicided to have the character have a split personality we thought to have half his face be cut away to show 'Gabriel' on the other side of him. This would display both the charatcers and have the viewer know what the story may be about, and creepy them out alittle.
We started by takeing 2 facial shotsof Matt, one would be himstanding still, how we wanted 'Chace' to look, the next would be 'Chace's face being peeling(or melted) away.

We needed to cut half the face away to make way for the other shot of 'Gabriel', this was done using the 'Magnetic lasso' tool, which allowed us to get a clean cut through his face. This was then copied and put onto 2 different layers, 1 layer was darkened then the eye was liquefied. The second layer was distorted and pulled down to replicate the skin being pulled.

The secondpicture was then cut out, Matt's arm, and placed onto the top of the first picture, to make the mainpicture which we will be working with.
The image was then nearly ready to be a final draft.
We used a smudge tool set to '20' to blend the layers of the face together, this would add depth to the image and make it look somewhat realistic.
The background then needed to be changed which was meant we added a new layer then placed it at the back of the other layers.
We then thought of adding a 'faded' part of the image, this was through using the 'Magic eraser' tool to blend the image. this was combind with the dodge and burn tool which, the dodge tool was used to lighten the image then the burn tool was used to darken the image.
The image was looking alot better so we flattened all of the layer together, then toned the image alittle bit more, now that the layers were put together.
Then the image draft was ready for show.
Although after some critism from Ms Gregory, we thought to change the size of the melted chin........
Although we tried to replicate the skin melting it did not look the best.
This lead us to make a sharper looking face melt which would not look so silly.
This lead us to this image.

Which we thought is quite cool.
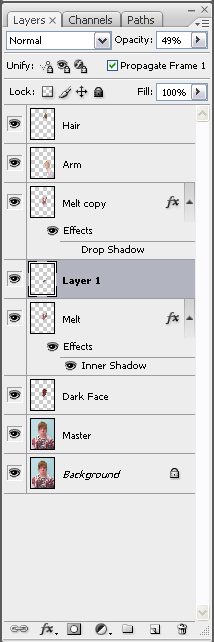
Just to show the photoshop steps that we took, we took a print screen of the layers. So it culd be somewhat clearer to you.
-Joel

No comments:
Post a Comment